Photograms
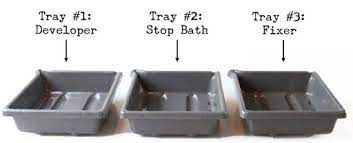
A photogram is a photographic print created when you place objects onto light sensitive paper and exposing it to light from above, in this case from an enlarger in a dark room. 1.) Then you place the paper in the developer which is a light-sensitive chemical, next, after leaving the photogram in the developer for 1-2 minutes, 2.) next it goes in the stop chemical for around 30 seconds so it will no longer be develop. 3.) After this you put it in the fix chemical for around 3 minutes to remove its light sensitivity, so the photogram can be taken out of the darkroom. 4.) After this you put the photogram into water for around 1-2 minutes. The end product of this process, results in a negative shadow image varying in tone, depending on the transparency of the objects used. Areas of the paper that have received no light appear white; those exposed through transparent or semi-transparent objects appear grey, areas that received light appear black.
The Darkroom
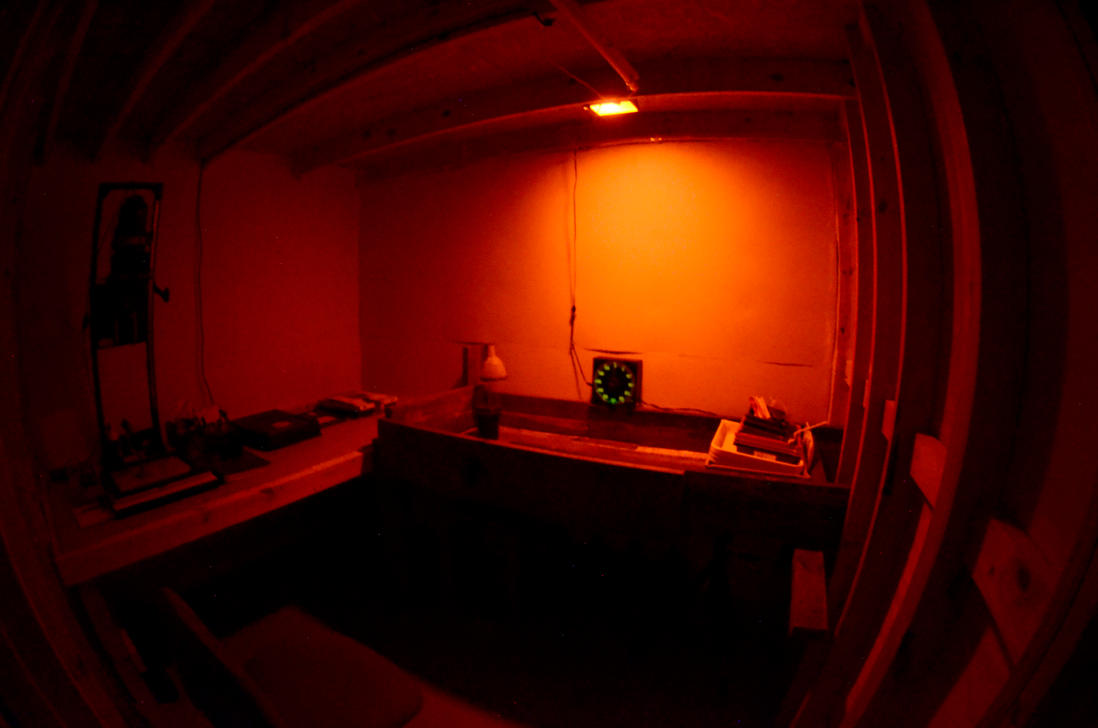
1. Light sensitive paper is sensitive to white light, so in a dark room is usually red lightbulbs as they are safe in the darkroom and allow those in it to see what they are doing.
A darkroom has two sets of curtains in it as to not let in light from outside. There are white lights in the darkroom which are usually turned off but are safe to turn on if there are no prints in the room being developed.
If the developing photographs in the darkroom were exposed to white light they would become overexposed and ruined.
Photographic paper is put in a drawer that is to always be closed after use as an extra precaution.
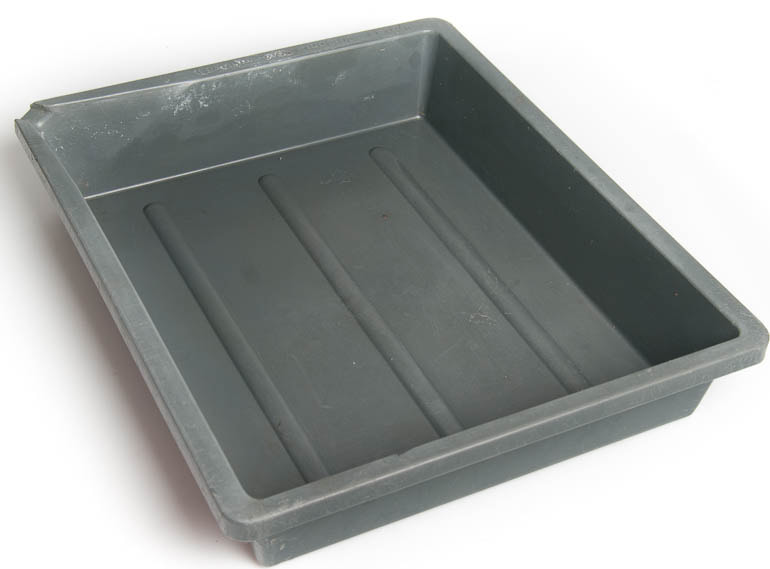
2. Darkroom trays are also stored in here if you want to double expose images, by developing them for a short amount of time and then exposing them again.
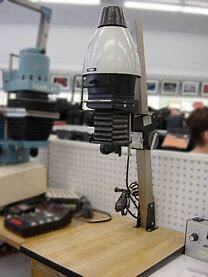
3. This can be done using an enlarger, which is a machine that is in the shape of a box which has light inside that emits this light through a negative and then a lens which can be removed to actually expose light.
A darkroom has two sets of curtains in it as to not let in light from outside. There are white lights in the darkroom which are usually turned off but are safe to turn on if there are no prints in the room being developed.
If the developing photographs in the darkroom were exposed to white light they would become overexposed and ruined.
Photographic paper is put in a drawer that is to always be closed after use as an extra precaution.
2. Darkroom trays are also stored in here if you want to double expose images, by developing them for a short amount of time and then exposing them again.
3. This can be done using an enlarger, which is a machine that is in the shape of a box which has light inside that emits this light through a negative and then a lens which can be removed to actually expose light.
|
|
|
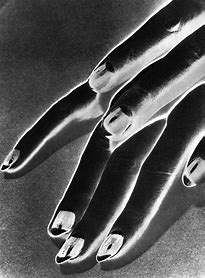
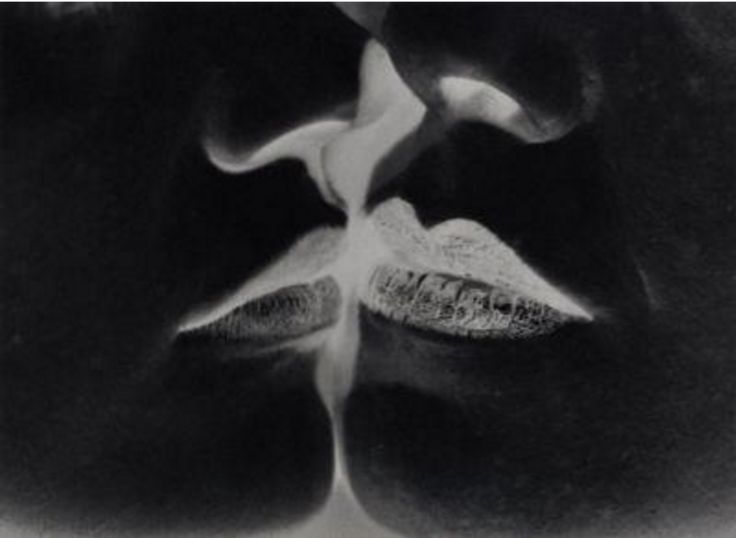
Man Ray 1890-1976

|
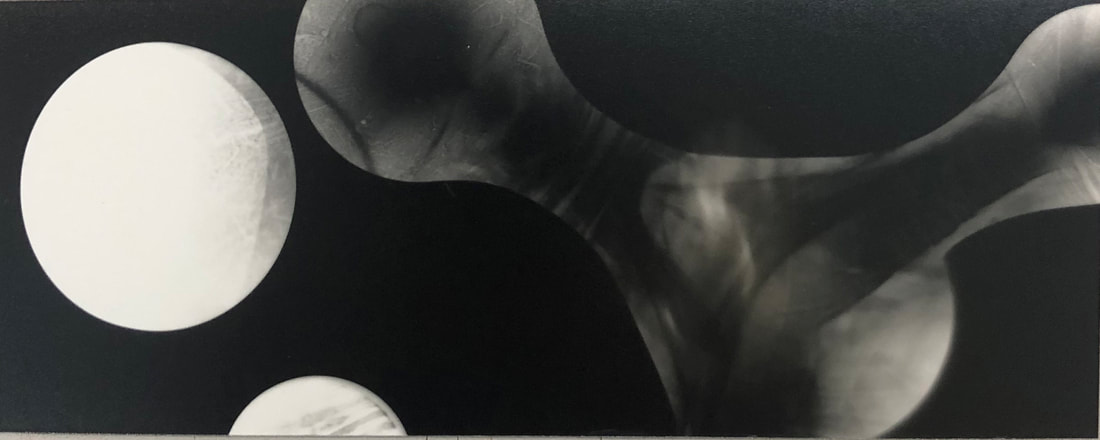
Man Ray was known for his solarisation photography. His experiments with photography included rediscovering how to take camera-less pictures. He did this by placing objects directly onto light-sensitive paper, which he then exposed to light, creating photograms. Man Ray used a technique called solarisation, which makes part of a photographic image negative and another part positive by exposing the print to light during it's development.
|
How To Make a Test Strip
|
A test strip shows multiple columns of exposure on one piece of photographic paper that get lighter and less exposed to light as you go along the image.
1. To start creating one of these you line up your piece of photographic paper underneath an enlarger, then place a large opaque object with a straight edge over the light-sensitive paper, just leaving a column uncovered. 2. Turn on your enlarger for 1 second, and then pull the object on the paper back to reveal another column, and again turn on your enlarger for 1 second. 3. Repeat these steps until you have gone along the full length of your light-sensitive paper. 4. Place your paper in the developer, then proceed with the rest of the steps to developing a picture, afterwards you should have your test strip. |

|
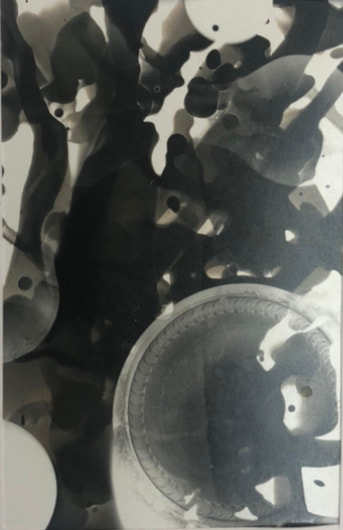
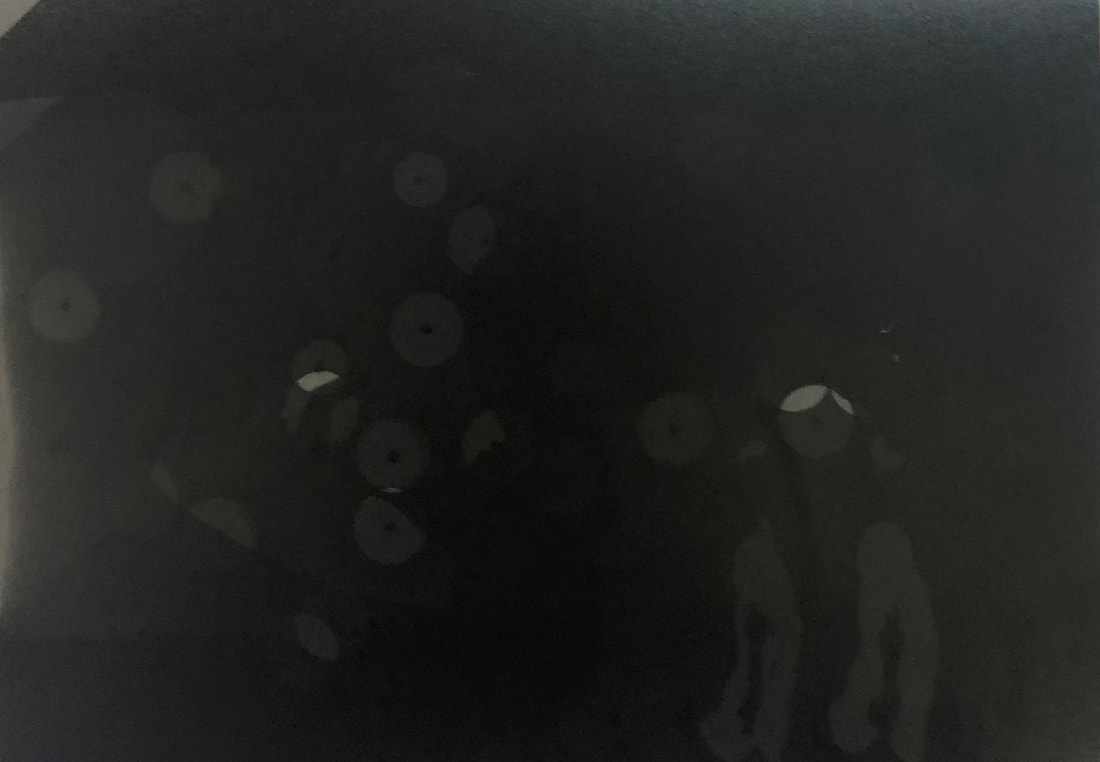
My Photograms
Painting With Developer
|
Painting developer onto your image with a paintbrush is a technique that is used to create a liquid like effect on your photogram. This is done by using a paint brush to paint on the developer instead of leaving it in the chemical, so that only the parts of your photogram that you painted will develop.
1. Place your photographic paper underneath the enlarger with the filter on to line it up correctly. 2. Position your objects on top of the photographic paper. 3. Remove the safety lens before turning the enlarger on for however long you chose. 4. Once you have your undeveloped photogram, take a paintbrush dipped in the developer and wipe the photogram with the brush onto the photographic paper. 5. After this, put your paper into the stop bath for 30 seconds before placing it in the fix solution. 6. Rinse off your photogram and let it dry and you have your image. |
Double Exposure
|
Double exposure is where you're left with the effect of a double image with objects overlapping one another. You lessen the time of exposure with each of the objects to make sure that they don't fully expose and create a less harsh image so that you can clearly see the two separate exposures.
To create this effect on a photogram you must: 1. Place your photographic paper underneath the enlarger with the safety light on. 2. Then, position your objects on top of the photographic paper. 3. Remove the safety lens before turning the exposure timer on for half the regular time. 4. Reposition your images or place new ones on top and turn the timer on for the other half of the full time. 5. Develop your photogram. 6. Rinse, and let it dry, revealing your double image. |
|
Solarising
|
Solarising is a technique used to create the effect of tone reversal by re-exposing your images after you begin developing.
To create this effect on a photogram you must: 1. Place your photographic paper underneath the enlarger with the safety light on. 2. Then, position your objects on top of the photographic paper. 3. Remove the safety lens before turning the exposure timer on. 4. After, you place your photogram in the developer and when the image begins to appear, remove the print from the developer. 5. Re-expose your image under the enlarger once again. 6. Develop your photogram. 7. Rinse, and let it dry, and you should see a lighter edge around the objects you printed. |

|
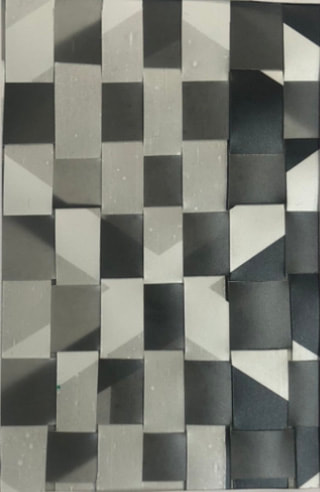
Weaving
|
Weaving is a technique created by cutting strips of two different photograms and weaving them together to create one chequered photogram. The key is to get two different toned photograms to create more of a contrast between the two and make the chequered pattern stand put more.
To create this you must: 1. Measure and cut 1cm strips along the length of one pf your chosen photograms 2. Then, measure and cut 1cm strips down the width of your other chosen photogram. 3. After, you want to begin to weave your photograms together by getting one strip and threading it over and under the other strips. 4. Do this with all the strips. 5.Finally, tape together the back to ensure that they are intact and don't move. |
Sandwich Print
|
A sandwich print is where you take a photogram you've already created and invert the colour using an enlarger. When film negatives are used, one image will appear in the shadows of the other image. When creating a sandwich print, this effect is reversed to see the shadows of the actual objects placed there initially.
To create this effect, you must: 1. Place your photographic underneath the enlarger with the safety light on. 2. Then, take your photogram that you want to reverse, and place that directly on top of your photographic paper. 3. To ensure that your photogram is directly on top of the photographic paper, you need to place a glass slab on top to press the together. 4. Develop your photo as normal and you should be left with a photogram with inverted colours. I used an image from the pinhole camera task for this technique. |

|
|

|
Evaluation
Overall I completed the task well with many photograms made with the techniques I studied. I should have tried the solarising technique again as it came out underdeveloped, and the sandwich print technique result was too blurry.
Missing picture with white background?
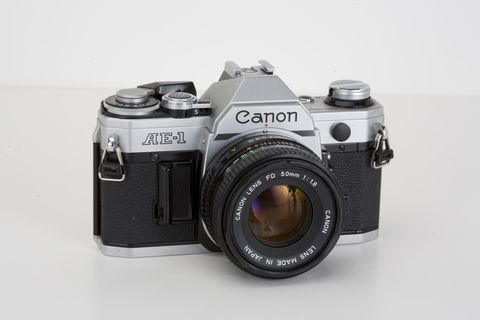
Introduction To a Camera
|
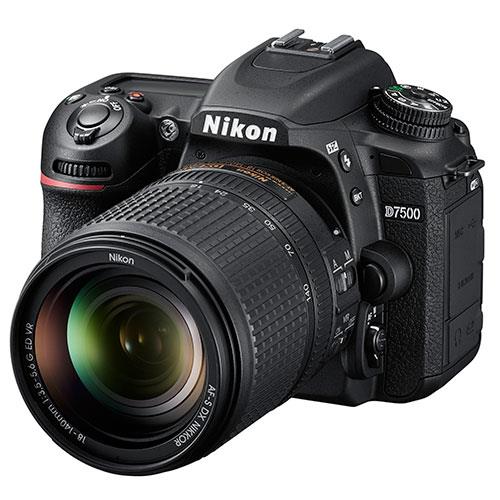
An SLR camera is a digital camera which doesn't require film, instead all images are processed digitally onto an SD card.
When light enters the camera lens of a digital SLR camera, a photographer sees their subject in the optical viewfinder via a reflection of that light from a mirror inside the camera body. Aperture is a hole in the front of your camera lens through which light enters, it is controlled on the side of the camera and is measured in F. If the F is higher the camera hole is smaller. F22 being the smallest. Aperture is part of the triangle which needs to be controlled to get good exposure. This triangle also includes ISO or ASA and shutter speed. Shutter Speed is how quickly the shutter in the camera opens and closes, letting lighting in. This is controlled and measured in seconds or fractions of seconds for example 1/160 of a second or 1 second. |
|
What is Film?
The process of film photography includes using chemicals to develop light sensitive paper that has been exposed to light in a camera, which is in a roll called film.
To load film into a camera you open up the back of the camera and place the enclosed roll of film into it's slot in the camera. Film comes in an enclosed cartridge so it isn't exposed to light and ruined. You then pull out some of the roll along the side of the camera until you have enough to push it into the other side of the camera so you can use the button on the side of the camera to roll it automatically.
Then you must close the back of the camera, and every time you take a picture you must roll the film with the button.
Pinhole Camera
Ben Nathan
Ben Nathan paints, films, does sculptures and takes photographs. He tries to reflect the city in his works, and wants to capture the evolution of change in urban areas and the industry of the city. His explorations beg the question of how nature changes within our cities. He was awarded a grant on the Artist Dis-Placement programme, helping create a scrap metal ship and at TSR metal recycling which is based in Denmark. In 2020 Ben made Pinhole London, a community art project that hosts workshops, events and exhibitions with a key idea of protecting analogue photography and keeping it thriving. They create opportunities for people of all ages and learning needs to participate in creative ways to learn from contemporary and historical viewpoints. They aim to be inclusive and accessible for all and are always on the lookout for new ideas and partners.
|
|
Task 1

|
In this task I was required to create a pinhole camera which would eventually produce photograms.
A pinhole camera is a container that has been blacken out completely inside except for a small hole that allows light to enter through when desired. They are based off the camera obscura and they are able to capture a fixed image on photographic paper. |
To create a pinhole camera:
Get a beer or energy drink can, which is tall, make sure it has no liquid in it and it is dry. Then poke a hole in the middle of it.
Then cut a piece of paper to fit around the top of the can perfectly, and put duct tape all over it to seal the holes and cuts in the paper to make sure the can is free of any light.
To use it you must first go into the dark room and put a piece of photographic paper in the can so that it is facing the pinhole, then cover the top and the pinhole so no light enters.
Then you can go out and find what image you want to capture, you should place the camera down and pull off the tape for as long as you need to, usually a couple of seconds, (this can be tested with a test strip) and place the tape back over the hole.
After this you can go back to the darkroom to remove the paper from the can and develop the image.


Portrait

|

|
During the creation of this picture I placed the camera behind another student, however the camera moved and blurred the image to the left. I used the sandwich print technique on this picture too.
View From a Window

|

|
For this picture I put the pinhole camera up against the window, both images came out under or overexposed however I still think they are good.
Corner of a Building
|
For this image I lined up the can with the corner of a building, the fence in front of it does not appear in the picture which was ideal as it focused on the building more.
|

|
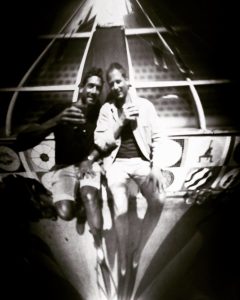
Double Exposure
|
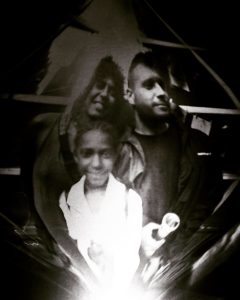
When creating this image, I exposed the paper to the picture shown, but then I covered it up again and got two students to stand in front of the camera without moving it from the original position. The result was the same image with ghost like figures standing there.
|

|
Evaluation
I believe the best image and my favourite image is the corner of the building pinhole camera picture, as it is the clearest and best exposed image, but I am also proud of the double exposure picture as it is also clear and shows competence in creating an image with a specific technique. I would have preferred to have time to complete sandwich prints for all the pictures and a better set of images for the window view.
SLR Camera
|
SLR - Single Lens Reflex.
This type of camera that typically uses a mirror and prism-like system that lets the photographer to see the exact image that intend to take a picture of. The light from the image in front of you enters the lens, then bounces off an angled mirror and hits a pentaprism, directing the light to the viewfinder. When the image is ready to be taken, the mirror retracts, and the light is projected directly onto the recording medium. Then you have your undeveloped photo. |
|
Film
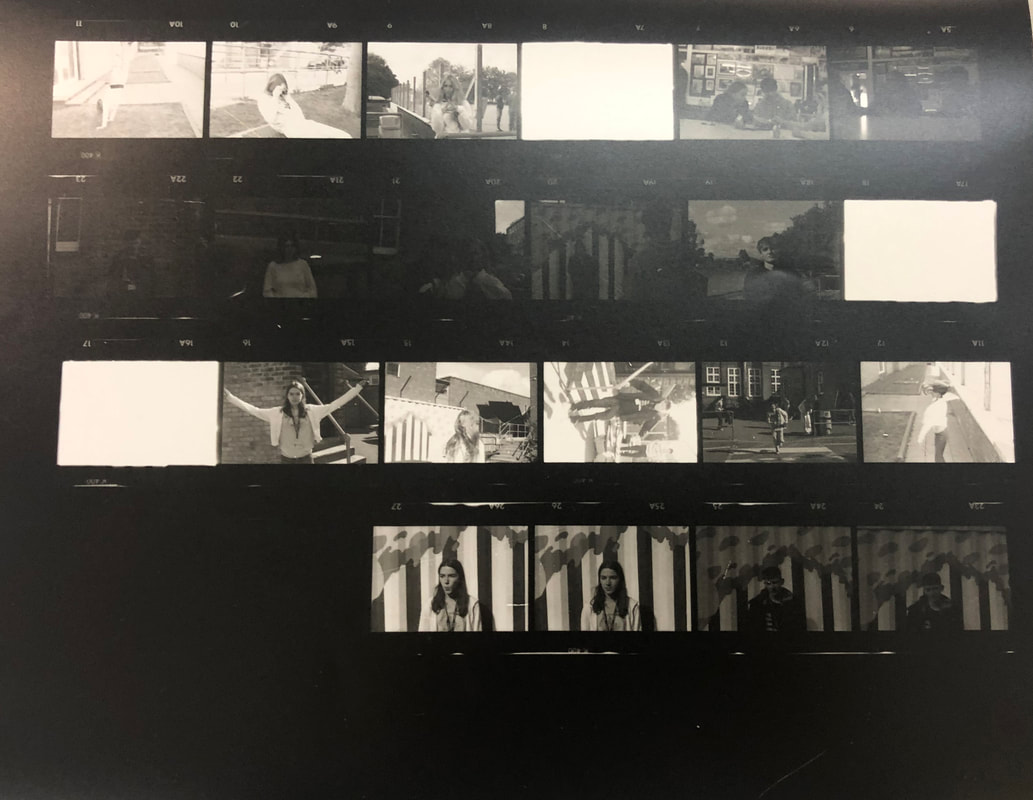
Contact Sheet
For the beginning of this task, we partnered up and loaded film into a camera before going out and taking pictures of each other and other groups with film.
After this we developed the film in a dark room so the pictures could be put into an enlarger.
Below is the contact sheet of all the images that we took.
After this we developed the film in a dark room so the pictures could be put into an enlarger.
Below is the contact sheet of all the images that we took.
Test Strips
To make sure the full contact sheet would develop correctly, test strips were used beforehand.


Enlarged Film
After creating the test strips and the full contact sheet, I put the film into the enlarger adjusted the size of the light to fit a larger sheet of photographic paper and then exposed the paper to the image through the enlarger.

|

|
Documentary Photography
Lewis Khan
Lewis Khan is an artist who was born and raised in London, first beginning to take pictures with a camera when he was 15.
Khan's early work focuses on tactile and immediate nature photography, however his work within portraiture is based around emotion, relationship and belonging.
Some of his work includes his projects "Theatre", a project that was personal to Khan, in which he spent 4 years inside two London hospitals to display an intimate view of the NHS during the 2020 pandemic, and his latest work, "Leavers" where he documents secondary school prom in stills and on Super8 film.
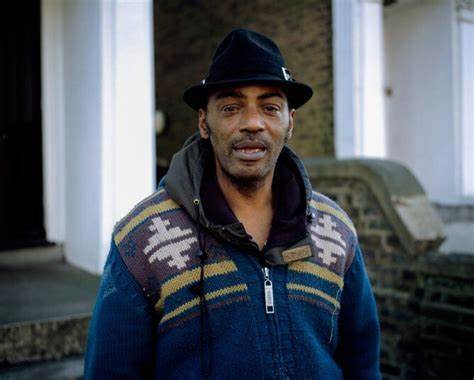
Georgetown
This was Lewis Khan's first project delving into moving image.
Over 6 years, Khan documented his neighbour George, creating a film of his everyday life that would normally be overlooked. This project influenced his approach to stills for his future projects.
Within the film we are shown George's home-life, and how he spends his time with a love for music. We are informed by George himself of his loneliness and backstory, and we view a wall with a memorial of people he knew drawn onto it.
The project revolves around mental health as well as a regular person's everyday life.
The photographs somewhat teach viewers not to judge a book by its cover as we don't truly know people without peeking into their life.
The close-up shots of parts of George's face and things in his house bring an intimate feel to the documentary as if we know him personally.
|

|
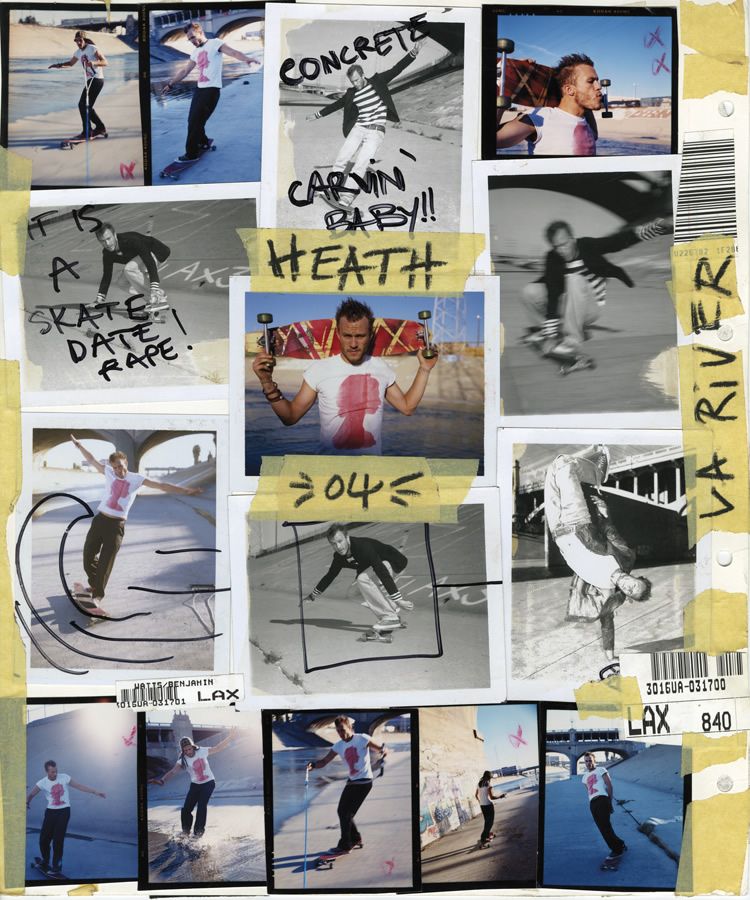
Ben Watts
Ben Watts was born in London in 1967 and was a student at the Sydney College of Arts from 1985 to 1990. He worked as a photographer's assistant in Australia before beginning to focus on his own work. During this he did commissions for Vogue, Elle and others.
He was fascinated by American Hip-Hop culture and moved to NYC in 1990 to document the streets, urban youth and the city.
He moved to New York in 1995, and has shot for brands like Nike, Polo Ralph Lauren, Kodak, Sony Music, Gap and more.
As a commercial photographer, he frequently contributes to magazines such as the New York Times Magazine, GQ, Rolling Stone, Esquire and others.

|
|
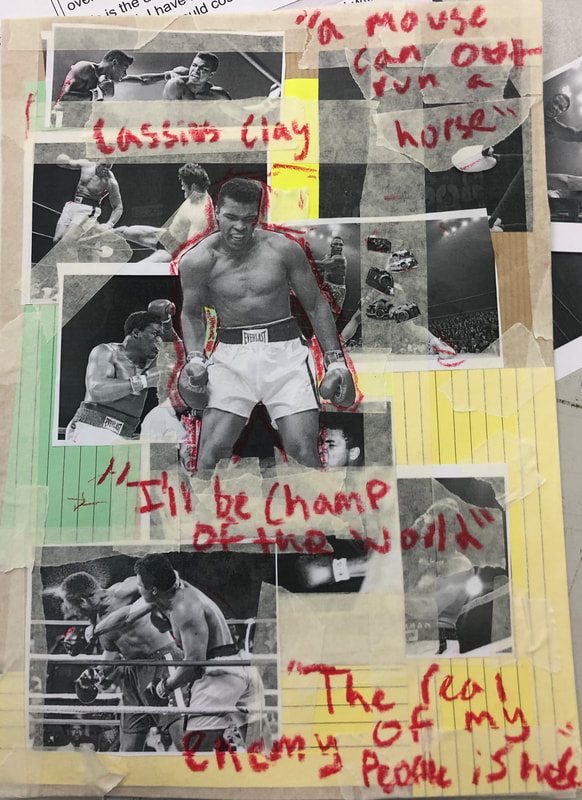
Task 1:
In this task I had to create a collage of Muhammed Ali in the style of Benn Watts, I used multiple images of Muhammed Ali and different types of paper glued and taped around each other with a main image in the middle which sits on top of other images, I used lots of masking tape all over the image and wrote quotes on top of it and the pictures. I also put random markings on the images like Watts does in his Heath Ledger collage.
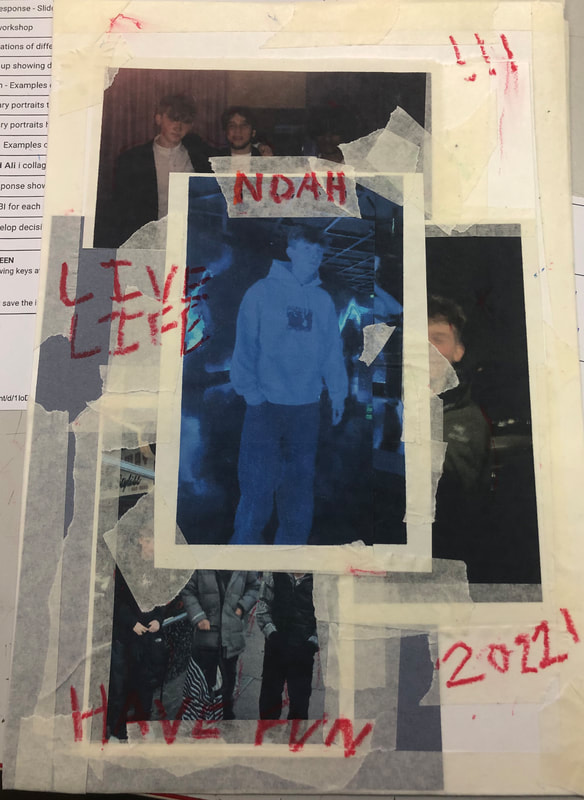
Task 2: Myself
For this task I made the same style of collage like Ben Watts does and what I did before, but with images of myself.
I then wrote over the collage like Ben Watts does with my name plus my own quotes.
I then wrote over the collage like Ben Watts does with my name plus my own quotes.
Independant Work
In this task we each chose a photographer we had previously studied, such as Valerie Kabis, Lewis Khan, Ben Watts, or Myra Greene.
I chose Lewis Khan as I found his work particularly intriguing, and enjoyed the idea of everyday life being documented.
I chose Lewis Khan as I found his work particularly intriguing, and enjoyed the idea of everyday life being documented.
Response 1
In this task I wanted to develop my work on Lewis Khan through taking pictures of my friend Dexter's everyday life, mainly depicting his love for music and fashion in his home and garden.
Response 1 Pictures will be uploaded monday during school period as the edits are on school computers!


Below are the final edits:
Response 2
For my second response, I decided to continue on Lewis Khan and wanted to keep the theme of everyday life, but this time with another person, my friend Charlie, who also likes fashion. I tried this time to also focus closer to finer details like Khan does.
After careful selection and editing of almost 200 photos taken in a day spent with him, the final edits are shown below, due to file sizes I cannot upload all the pictures taken however.
After careful selection and editing of almost 200 photos taken in a day spent with him, the final edits are shown below, due to file sizes I cannot upload all the pictures taken however.


